


Nothing fascinates a plant lover more than a rejuvenating visit to a flower show. Greater Noida Authority organizes the flower show every year, though this happened to be my first visit. It was a few months back in Feb 2015; I think its never late to post about such a colorful event.
Three day flower show started with the competitions in various plant categories including cacti, succulents, flower arrangements, tray gardens, spot gardens, artistic arrangement of flowering plants, hanging baskets etc. The competition was open to all - residents, institutions, nurseries, contractors etc. to showcase their work. Performances by school students, Kavi Sammelan by Padma Shri Sunil Jogi, Classical music by Padma Shri Sharda Sinha, musical night by playback singer Sapna Awasthi were among various attractions of the event. It was an awesome programme which had something for everyone.
Three day flower show started with the competitions in various plant categories including cacti, succulents, flower arrangements, tray gardens, spot gardens, artistic arrangement of flowering plants, hanging baskets etc. The competition was open to all - residents, institutions, nurseries, contractors etc. to showcase their work. Performances by school students, Kavi Sammelan by Padma Shri Sunil Jogi, Classical music by Padma Shri Sharda Sinha, musical night by playback singer Sapna Awasthi were among various attractions of the event. It was an awesome programme which had something for everyone.


Flowery Delight: A Glance at the Flower Show
Some things are better appreciated when seen by naked eyes; still I have tried to capture part of the beauty using my camera.
Spot Gardens
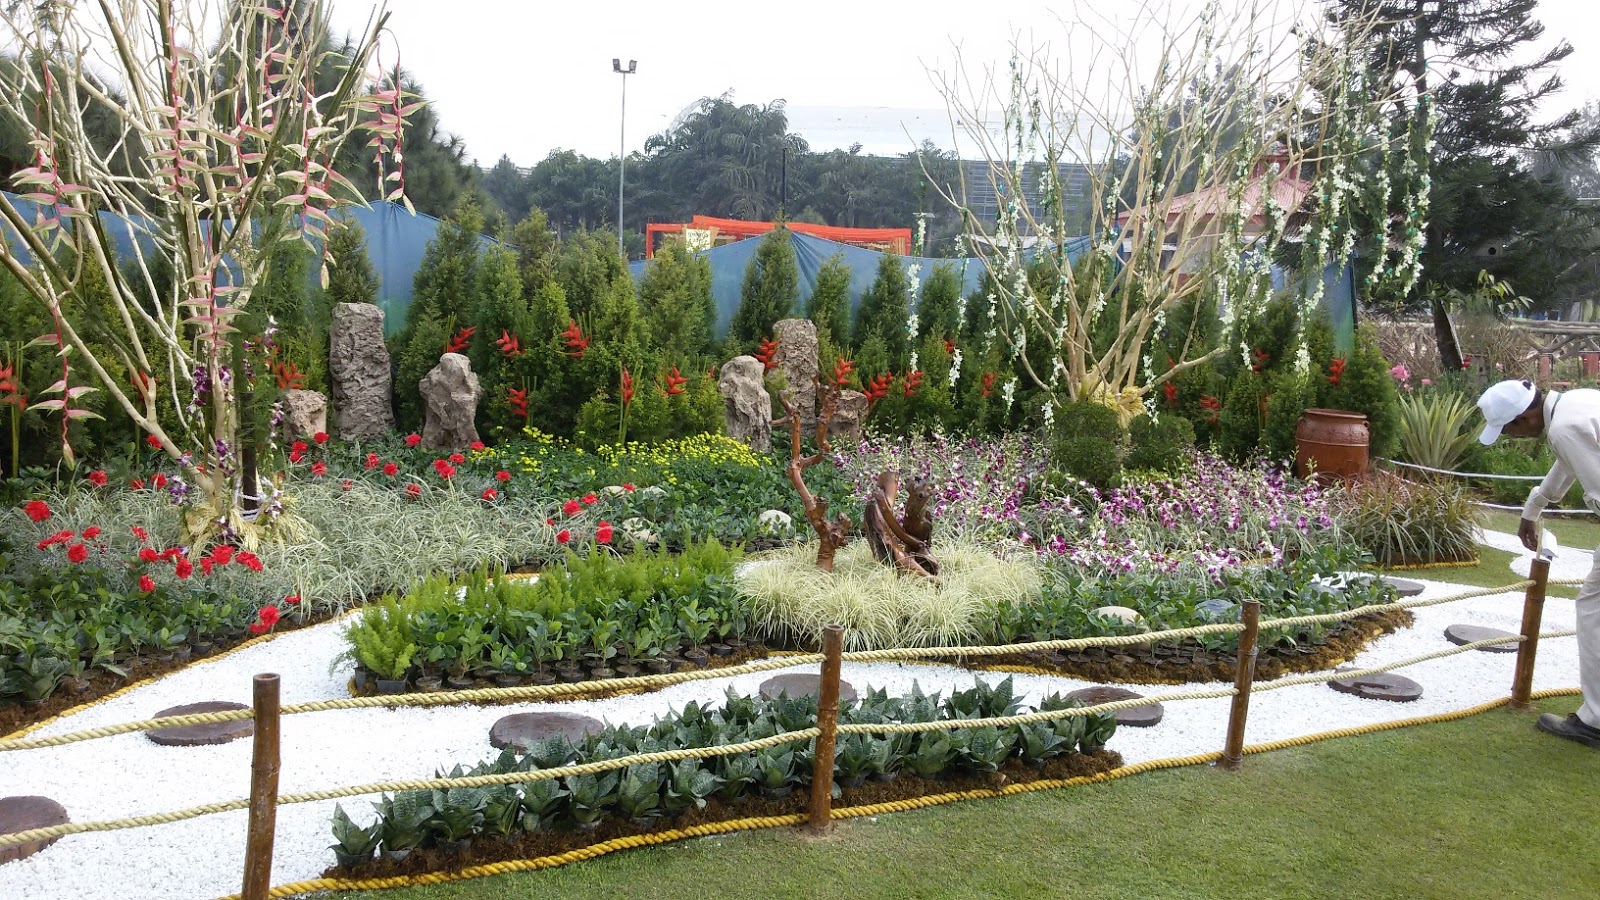


Group Arrangement


Hanging Baskets


Tray Gardens


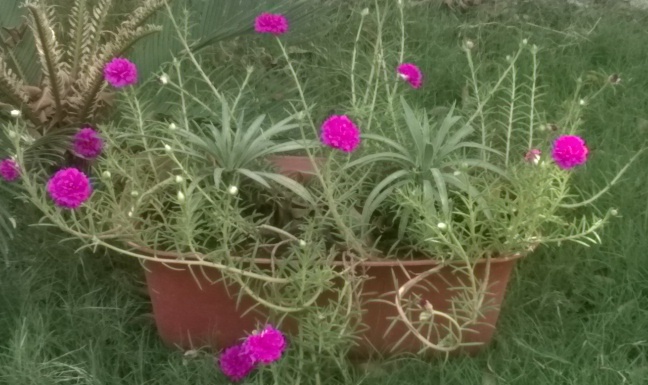
Cacti and Succulents


How to participate in the competition
In case you want to showcase your work or participate in the competition - a flower show is a great platform. Greater Noida Authority organizes this flower show every year towards the end of winters. You would see big banners and hoardings at various places in the city regarding the date, venue and special attractions of the show. Interested people can visit the horticulture department in the authority office during working hours to get the details. Brochure and participation forms would be available a few days before the show in the Authority's Horticulture Dept. or in City Park (or Samrat Mihir Bhoj Park). The participation charges were bare minimal (Rs 10-20 per form). There was no additional fee for the visitors in the flower show. Greater Noida Authority encourages all the residents and institutions to participate in the flower show. I and my husband participated in the competition (in small tray garden category and even won prizes) and the response from their staff had been really supportive.
I really appreciate Greater Noida Authority for encouraging and appreciating individuals, institutions, nurseries, contractors etc. for being sensitive towards environment; and organizing the series of events for the residents so they can feel being part of the city.


